We moved into our home three years ago this Christmas. When we moved in it was a foreclosure so we did the must dos and moved on. One of the things we always talked about redoing were our countertops. We do not have the money for brand new countertops with one kid and one on the way. This seemed to be the best alternative. So after two years of researching and hesitating we finally made the decision to make the transformation.
Step 3. Paint the base coat and spread the chips. This is the messiest part. Just go with it... Not even worth trying to clean as you go. I was worried it would not go on even or we would run out and it was fine. We actually had extra bags of chips when we finished.
Step 4. Wait at least 12 hours...
Step 6. Clean countertop with water.
Step 8. Wait for gloss to dry. The box says 4-6 hours it was an unusually cold day and we ended up waiting almost 24 hours for it to dry. We removed the tape at this time. We then waited a full 48 hours to move back our appliances and put back in the sink.
This is a picture of the 30 square feet but we used the 50 square feet kit. The kit runs $240 with the extras that are needed to complete the task our total was around $315 at Lowes. I saw the kits cheaper on Amazon, but we waited too long to order it and wanted to get the task done.
Ok so to the process...
I will warn that the process is long and messy. Took three days to complete the task and a full 5 days for counters to be completely dry.
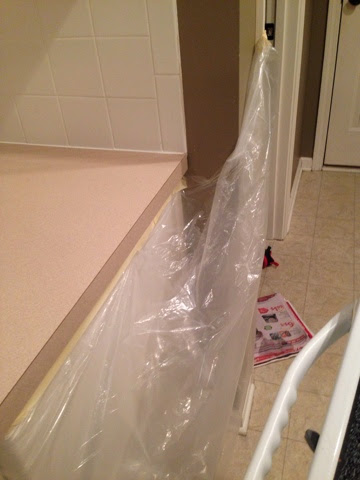
Step 1. Tape off everything!! We placed a drop cloth over our cabinets and moved our appliances. (Made for a good time to clean behind these items.) Remove the sink or tape around. We ended up covering the floor with trash bags.
Step 2. Sand the countertops with the sander provided.
Step 5. Sand the countertops and vaccum off extra chips until smooth.
Step 7. Paint with final protectant coat that gives it a glossy look.
As of right now I would say the countertops look much better and it was not a difficult task just very messy and took an entire weekend.


